
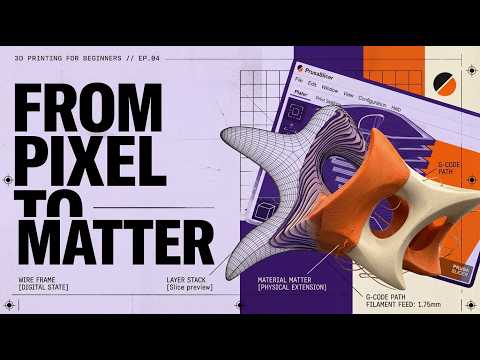
Ready to take your digital designs off the screen and bring them into the physical world? 3D printing is an exciting process, but bridging the gap between a digital model and a physical print requires a crucial tool: slicer software. Whether you are designing complex parametric architecture or detailed product prototypes using Rhino 3D, knowing how to convert your geometry into machine-readable code is essential.
In this guide, we will walk you through using PrusaSlicer step-by-step, taking your model from a digital file to ready-to-print G-Code.
Step 1: Prepare and Export Your Mesh
Before opening PrusaSlicer, your 3D model needs to be watertight and properly scaled. If you crafted your design in Rhino 3D, make sure to check for open polysurfaces or naked edges using built-in analysis tools. Once your geometry is verified as a solid mesh, export your object as an STL or 3MF file. These standardized formats preserve your model's surface geometry, making them ideal for slicing software.
Step 2: Import into PrusaSlicer and Configure Settings
Open PrusaSlicer and drag your exported file directly into the virtual bed. Here, you can re-orient, scale, or duplicate your object as needed. Next, configure your primary print parameters based on your project's goals:
- Layer Height: Lower values (e.g., 0.12 mm) yield smoother surface details, while higher values (e.g., 0.28 mm) significantly speed up printing.
- Infill Density & Pattern: Choose an infill percentage (typically 15%–20% for decorative parts) and a structural pattern like Gyroid or Grid to balance strength and material consumption.
- Supports & Adhesion: Enable support structures if your object contains steep overhangs or bridges.
Step 3: Slice and Export G-Code
Once your parameters are dialed in, hit the "Slice now" button. PrusaSlicer will process your 3D geometry into G-Code—the exact set of instructions telling your 3D printer how to move, heat up, and extrude material layer by layer. Take a moment to inspect the preview screen to ensure all fine features from your original Rhino 3D project sliced correctly without unexpected gaps or missing paths. Finally, export the G-Code to an SD card or send it directly to your printer.
Conclusion
Slicing doesn't have to be intimidating. By combining a powerful modeling tool with an intuitive slicing workflow, turning your custom creations into physical objects becomes a seamless experience. Load your model, adjust your settings, and start printing!


