
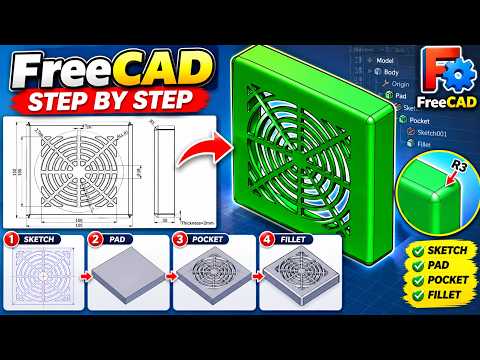
In the world of functional 3D printing, one of the most common yet essential components you will need to design is a ventilation system. Whether you are building an enclosure for electronics or a custom housing for a cooling fan, knowing how to create a precise air vent is a fundamental skill. Using 3D FreeCAD, an incredibly powerful and open-source parametric modeler, you can design professional-grade vents tailored to your specific project needs.
Why Choose FreeCAD for 3D Design?
While many designers start their journey with software like CATIA, SOLIDWORKS, or AutoCAD, 3D FreeCAD stands out because it offers a robust, scriptable environment that is completely free to use. It allows you to move from basic 2D sketches to complex 3D geometries with ease. For those looking to transition from basic knowledge to a more advanced engineering position, mastering the "Part Design" and "Sketcher" workbenches in FreeCAD is a vital step.
Step-by-Step: Designing an Air Vent
Designing an air vent requires a balance between structural integrity and airflow efficiency. Here is a simplified workflow for creating a standard louvered or slotted vent:
- Create the Base Sketch: Start in the Sketcher Workbench. Draw the outer boundary of your vent panel and use the "Pad" tool to give it thickness.
- Define the Air Slots: Create a new sketch on the face of your panel. Draw a single rectangular slot or a circle for a perforated look.
- Apply Linear Patterns: Instead of drawing every hole manually, use the "Linear Pattern" tool. This allows you to duplicate your slot across the surface at precise intervals, ensuring a clean, professional appearance.
- Boolean Operations: Use subtractive features to "cut" the holes through the main body, leaving you with a functional ventilation screen.
Optimizing Your Model for 3D Printing
The ultimate goal of many designers is to bring their digital models into the physical world. When working in 3D FreeCAD, you must keep 3D printing constraints in mind. Ensure that your vent slats are thick enough (at least 1.2mm to 1.6mm) to be durable, and consider the orientation of your print to minimize the need for support material.
Once your design is complete, simply export your project as an STL or OBJ file. From there, you can import it into your preferred slicer software and start the printing process. With practice, you will find that FreeCAD provides all the tools necessary to move from a simple concept to a high-quality 3D printed part.


