
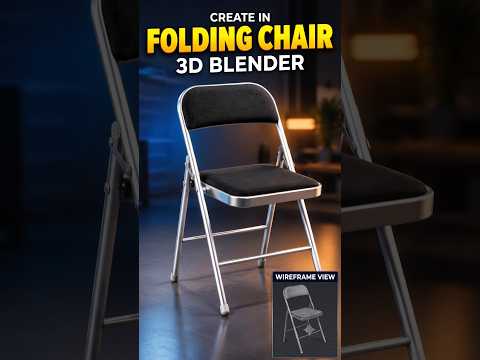
Whether you are a beginner stepping into digital art or an artist looking to refine your asset creation workflow, learning hard-surface prop creation is an essential milestone. Among various everyday objects, a folding chair serves as an excellent exercise to practice precision, clean topology, and modifier usage. In this guide, we will explore how to approach this classic project using Blender.
Why Start with Everyday Objects?
Practicing on real-world props like chairs, tables, or lamps helps you develop a strong eye for scale, proportion, and structural logic. When practicing 3D modeling, working with mechanical or foldable items forces you to consider hinges, pivot points, and real-world assembly. Mastering these fundamentals makes tackling complex architectural visualization or video game asset creation significantly easier.
Key Steps to Model a Folding Chair in Blender
Creating a clean, realistic folding chair requires a structured approach. Here is how you can break down the process:
- Reference Setup and Blocking Out: Begin by placing reference images in your viewport. Use basic geometric primitives like cylinders and cubes to block out the metal frame, seat, and backrest to establish correct overall proportions.
- Forming the Frame and Joints: Utilize the Mirror modifier to maintain perfect symmetry. Use extruded curves or modified cylinders to form the tubular metal legs. Pay close attention to joint placement where the chair naturally pivots and folds.
- Adding Surface Details and Modifiers: Give thickness to the seat and backrest using the Solidify modifier. Apply a Bevel modifier to round off harsh edges, giving plastic or padded surfaces a realistic finish that catches light naturally.
- Clean Topology Check: Ensure your mesh consists primarily of quads (four-sided polygons) and check for duplicate vertices or inverted normals before moving on to UV unwrapping.
Elevate Your Final Render
Once the base geometry is complete, take your 3D modeling workflow to the next level by applying realistic PBR materials. Experiment with brushed steel for the frame and textured vinyl or matte plastic for the seat. Adding subtle surface imperfections like smudges or minor scratches will bring your render to life.
Fire up Blender, gather your reference photos, and start building your 3D prop library today!


