
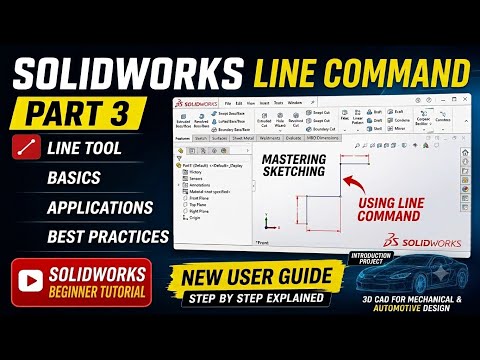
Whether you are a complete beginner or looking to refine your computer-aided design (CAD) workflow, mastering the Line command in SOLIDWORKS is an absolute essential. Every complex 3D parametric model begins with a simple sketch, making the Line tool the fundamental building block of any successful 2D drawing in SOLIDWORKS.
Getting Started with the SOLIDWORKS Line Tool
The Line command allows you to create continuous straight lines, individual segments, or switch on-the-fly to tangent arcs. To activate it, simply navigate to the Sketch tab on the CommandManager and select the Line tool (or press the keyboard shortcut L).
SOLIDWORKS offers three primary line types to suit your design needs: - Standard Line: Used to construct the primary solid geometry of your design. - Centerline: Ideal for construction geometry, rotational axes, and symmetric constraints without affecting features. - Midpoint Line: Allows you to draw a line symmetrically outwards from a central point, saving valuable time during balanced geometric setups.
Best Practices for Accurate 2D Drawing
Creating a precise 2D drawing requires more than just clicking points on your screen. To build robust models that don't break during future edits, keep these core techniques in mind:
- Utilize Automatic Relations: As you sketch, SOLIDWORKS automatically suggests horizontal, vertical, and perpendicular relations through yellow inferencing icons. Pay close attention to these cues to keep your geometry properly aligned.
- Transition to Arcs Seamlessly: You can switch from drawing a line to a tangent arc without changing tools. Simply move your cursor back to the endpoint of the line you just created, and SOLIDWORKS will automatically switch to Arc mode.
- Fully Define Your Sketch: Always apply Smart Dimensions and geometric constraints until your sketch lines turn from blue (under-defined) to black (fully defined).
Elevate Your CAD Workflow Today
Mastering the Line tool is the fastest way to build confidence in parametric modeling. By understanding how to control line types, auto-relations, and dimensions, you will transform your rough ideas into clean, professional 2D drawing sketches ready for 3D extrusion. Start practicing these techniques in your next project to take your CAD skills from beginner to pro!


