
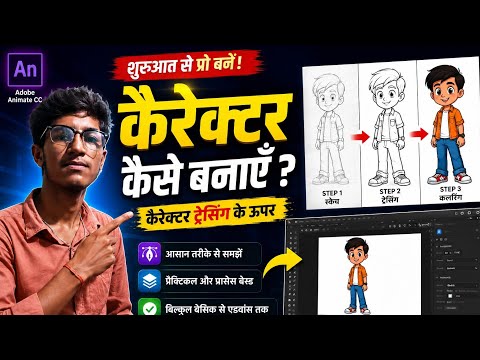
Creating custom cartoon characters from scratch can seem intimidating, especially if you are new to digital illustration. Fortunately, character tracing in Adobe Animate CC provides an accessible way to turn rough paper sketches into sleek vector assets. Whether you are building graphics for an animated series or refining your artwork, mastering 2D drawing through character tracing is an essential skill every digital artist should learn.
In this step-by-step tutorial, we will walk you through the process of tracing a character in Adobe Animate CC to produce clean, professional vector artwork ready for animation.
Step 1: Import Your Reference Image
Start by launching Adobe Animate CC and creating a new canvas. Import your hand-drawn sketch or reference image onto the stage by going to File > Import > Import to Stage. Once your image is placed, lower its opacity to around 30%–50% so it serves as a soft guide. Rename this layer to "Reference" and lock it to prevent accidental shifts while working.
Step 2: Choose the Right Vector Tools
Create a new layer above your reference image for line work. Adobe Animate offers several powerful tools that make precise 2D drawing seamless:
- Pen Tool (P): Best for smooth, controlled curves and exact anchor point manipulation.
- Pencil Tool (Y): Ideal for clean vector strokes with adjustable automatic smoothing.
- Fluid Brush Tool (B): Perfect for artists who prefer a organic, pressure-sensitive drawing feel.
Select your preferred tool, set a clear outline color, and adjust the stroke smoothing settings to auto-correct shaky hand movements.
Step 3: Trace and Refine Your Character
Begin tracing the main structure of your character, starting with the head, torso, and limbs before moving to smaller features like eyes and clothing details. Focus on making long, continuous strokes rather than short, sketchy lines. If you are using vector path tools, turn on "Object Drawing Mode" to keep individual limbs separated, which makes dynamic rigging much easier later on.
Step 4: Color and Final Polish
Once your outlines are finished, hide the underlying reference layer to inspect your linework. Use the Paint Bucket Tool (K) to fill closed shapes with vibrant flat colors. Make sure to close any tiny gaps in your vector lines so the color fill tool works smoothly without leaking into other areas.
Final Thoughts
Tracing reference art is one of the fastest, most effective ways to optimize your 2D drawing workflow in Adobe Animate CC. By practicing these vector tracing fundamentals, you can easily transform simple pencil concepts into production-ready digital characters.


