
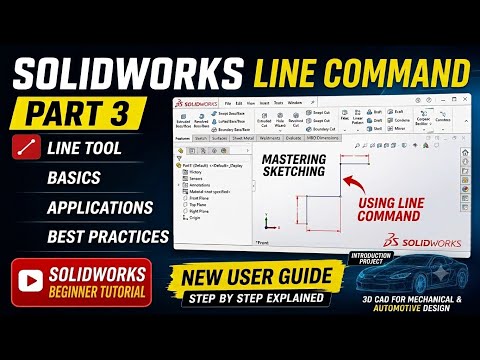
In the realm of computer-aided design (CAD), mastering fundamental sketch tools is the fastest way to transition from a beginner to a professional designer. Whether you are creating complex mechanical components or simple geometric shapes, every solid 3D model starts with a clean 2D drawing. In SOLIDWORKS, the Line Command serves as the foundational building block for virtually every sketch you will create.
Understanding the Basics of the Line Tool
The Line tool in SOLIDWORKS allows designers to draw straight line segments connected end-to-end. To activate it, simply select the Sketch tab, click on the Line icon, or press the keyboard shortcut "L".
As you click to place points on the graphics area, SOLIDWORKS automatically suggests dynamic geometric relations—such as horizontal, vertical, or perpendicular constraints. These visual cues ensure your 2D drawing remains precise and geometrically sound right from the start, saving you from tedious manual adjustments later.
Exploring Specialized Line Types
The Line command is far more versatile than basic segment creation. By clicking the arrow next to the Line tool, you unlock specialized options designed to streamline your modeling workflow:
- Centerline (Construction Line): Used primarily for reference geometry, axes of symmetry, and revolve operations. Construction lines do not interfere with feature creation.
- Midpoint Line: Enables you to draw a line that expands symmetrically in both directions from a chosen center point, perfect for balanced designs.
- Infinite Line: Extends endlessly across the graphics area, making it ideal for establishing overall reference boundaries and baseline alignments.
Best Practices for Efficient Sketching
To elevate your design skills, always aim for fully defined sketches. After laying down your initial geometry, use Smart Dimensions and add necessary geometric relations (like equal length or parallelism) to fix the size and location of your sketch. A structured approach to your 2D drawing prevents unexpected errors downstream when converting sketches into 3D features like Extrudes or Revolves.
By mastering the full capabilities of the SOLIDWORKS Line command, you can dramatically speed up your workflow and produce clean, professional CAD models with ease.


