
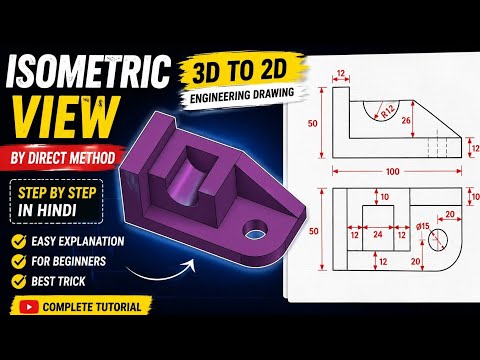
In the world of mechanical engineering and product design, the ability to translate a complex 3D model into a readable technical format is an essential skill. While 3D isometric views provide a great visual representation of a part, the factory floor and manufacturing departments rely heavily on a clear, detailed 2D drawing to bring those designs to life.
In this guide, we will walk through the streamlined process of converting your SOLIDWORKS isometric models into professional engineering drawings.
Getting Started with the Drawing Environment
Before you can create your layout, you must ensure your 3D model is fully defined and saved. In SOLIDWORKS, the transition begins by selecting the "Make Drawing from Part/Assembly" option found under the File menu. This action opens the drawing interface, where you can choose from various standard sheet sizes (A4, A3, etc.) depending on the complexity of your part.
Placing the Isometric and Projected Views
Once your sheet is ready, the View Palette on the right side of the screen becomes your best friend. To create an effective 2D drawing, you can simply drag the "Isometric" view onto the sheet. However, a technical drawing usually requires more than just one perspective. By using the "Projected View" tool, you can pull standard orthographic views—top, front, and side—directly from your isometric base. This ensures that every angle of the geometry is accounted for.
Refining Details and Annotations
A professional 2D drawing is only as good as its annotations. Once your views are positioned, you should: * Use Smart Dimensions: Accurately label the lengths, diameters, and angles of your part. * Adjust Display Styles: Switch between "Hidden Lines Removed" and "Hidden Lines Visible" to clarify internal features. * Add a Title Block: Fill in the essential metadata, such as the part name, material, and scale, to provide context for the manufacturer.
Conclusion
Converting an isometric view into a technical layout in SOLIDWORKS is a straightforward process that bridges the gap between conceptual design and physical production. By mastering these steps, you ensure that your designs are not only visually impressive in 3D but also functional and manufacturable in a real-world setting. Consistency and precision during this stage are the hallmarks of a great engineer.


