
Creating high-quality vehicle components is a rite of passage for many digital artists. Whether you are designing for a high-octane racing game or a photorealistic cinematic render, the tire rim is a centerpiece that demands intricate detail and sharp execution. In this guide, we will explore how to leverage the power of Blender3D to create an "insane" custom rim using fast and efficient Boolean techniques.
Mastering the Bool Tool Workflow
The secret to creating complex mechanical shapes without spending hours on manual topology is the "Bool Tool." For those using Blender3D, this built-in add-on is a game-changer. By enabling it in your preferences, you unlock a CAD-like workflow that allows you to use primitive shapes to "carve" your design out of a base mesh.
Instead of moving individual vertices to create the holes and spokes of a rim, you can simply create "cutters." These are separate objects that define where the gaps in your rim will be. This non-destructive method allows you to move, scale, and rotate your cuts in real-time until the design looks perfect.
Crafting the Spoke Pattern
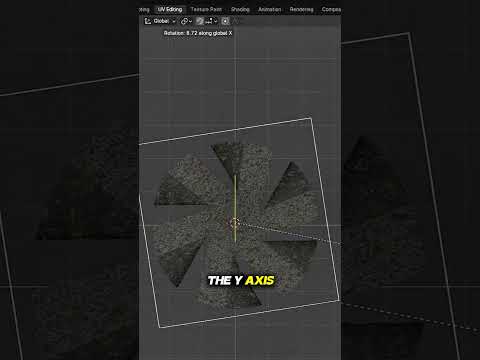
To begin, start with a basic cylinder or a flat circle with a face. The key to a professional-looking rim is symmetry. By using an Array modifier or a Radial Array setup, you can design a single spoke or cutout and have it automatically repeat around the center of the wheel.
Once your cutters are positioned, use the Boolean Difference operation. This instantly subtracts the cutter shapes from your main rim body, leaving behind those sharp, industrial edges that characterize high-performance wheels. It is this specific technique that makes Blender3D such a versatile tool for hard-surface modeling.
Adding Realism with Bevels and Materials
A common mistake among beginners is leaving edges perfectly sharp. In the real world, no edge is truly a 90-degree angle. To take your rim from "basic" to "insane," apply a Bevel modifier. This adds a slight rounded edge to your cuts, allowing them to catch the light and create those highlights that make metal look realistic.
Finally, pair your model with a brushed metal or chrome shader. By combining smart Boolean modeling with proper light-catching edges, you’ve transformed a simple cylinder into a professional-grade automotive asset. With these techniques in your arsenal, you are ready to tackle any complex mechanical project.


