
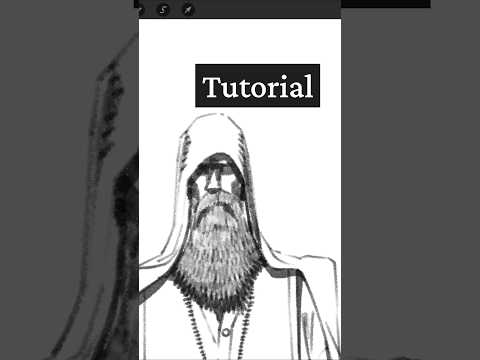
Drawing realistic facial hair can feel intimidating for beginner and intermediate artists alike. Whether you are creating a rugged fantasy warrior or a sleek modern portrait, learning how to render beards effectively adds immense depth and personality to your illustrations. In this guide, we break down the step-by-step process using modern digital art techniques to make your characters come alive.
Step 1: Establish the Base Mass and Silhouette
Before diving into individual hairs, start with the bigger picture. Map out the beard’s overall shape and volume on a separate layer. Think of the beard as a solid 3D form sitting on the character’s jaw rather than thousands of separate strands. Use a medium-density brush to fill in a mid-tone foundation, ensuring the jawline and cheek boundaries are clearly defined.
Step 2: Define Light, Shadow, and Hair Direction
Once the base volume is set, establish your primary light source. Apply darker values along the underside of the chin and beneath the lower lip, while adding soft highlights where light naturally hits the chin and cheekbones. Crucially, pay attention to the flow of the hair. Draw gentle directional guidelines to show how the beard naturally wraps around the face, which will steer your detail work.
Step 3: Add Texture and Layered Details
Now comes the fun part! Switch to a smaller, fine-point brush to carve out texture. Instead of trying to draw every strand, focus on key focal points—such as where the hair meets the skin or where light catches the outermost edges. Layer lighter hair strokes over your shadow areas to build convincing depth. Utilizing pressure sensitivity settings in your favorite digital art software will allow you to achieve natural, organic hair tapering.
Step 4: Refine Edges and Final Highlights
To finish your portrait, add a few subtle stray hairs along the outer edges of the beard. This breaks up harsh, unnatural lines and gives the beard realistic texture. Finally, use a soft eraser or blending tool near the cheeks for a smooth transition from skin to hair.
With a bit of consistent practice, mastering facial hair in digital art will become an enjoyable and essential tool in your creative arsenal!


