
The Art of Transforming 3D Models into Manufacturing Blueprints
In modern mechanical engineering and product design, creating an impressive 3D CAD model is only half the battle. To bring your product to life on the factory floor, you must translate that digital geometry into clear, standard-compliant technical documentation. Transforming your 3D model into an accurate 2D drawing in SOLIDWORKS is a critical skill that ensures seamless communication between designers, engineers, and machinists.
Why an Accurate 2D Drawing Matters
While 3D visualization is excellent for design validation and assembly testing, manufacturers still rely heavily on traditional documentation. A well-crafted 2D drawing contains essential information that a raw 3D model often lacks, such as precise geometric dimensioning and tolerancing (GD&T), surface finish requirements, material callouts, and critical inspection notes. Without proper technical documentation, even the best designs risk costly manufacturing errors, delayed production schedules, and material waste.
Key Steps to Convert 3D Models in SOLIDWORKS
Converting your 3D geometry into production-ready blueprints in SOLIDWORKS is a straightforward process when following a structured workflow:
- Select the Right Drawing Sheet Template: Start by choosing an industry-standard template (such as ANSI or ISO) with a clean title block containing all necessary project metadata.
- Import Model Views: Use the View Palette to project standard orthogonal views (Front, Top, Right) alongside isometric views for better spatial clarity.
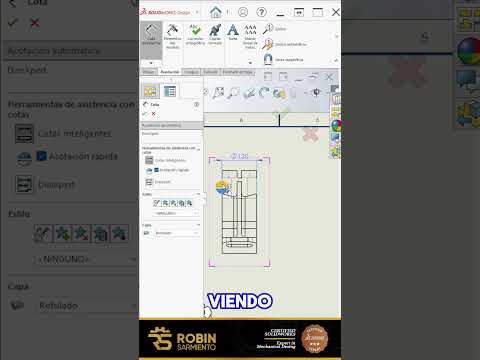
- Apply Smart Dimensions and Annotations: Insert clean dimensions using automated tools or manually add critical tolerances to guide the machinist effectively.
- Define Section and Detail Views: Highlight intricate internal features or complex geometries using section cuts and enlarged detail views.
Elevate Your CAD Workflow Today
Mastering the transition from 3D models to precise technical documentation is essential for any modern CAD professional. By establishing clear standards and utilizing automated CAD tools, you can generate a high-quality 2D drawing efficiently every time, successfully bridging the gap between digital design and real-world manufacturing.


