
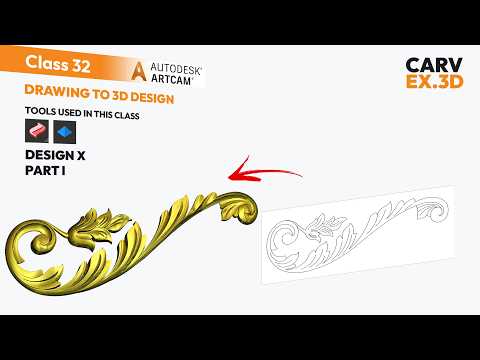
Are you looking to elevate your digital design skills and transform flat vectors into detailed, three-dimensional masterpieces? Converting a 2D drawing into a 3D relief model in ArtCAM 2018 is one of the most practical and profitable skills you can master for CNC machining, woodworking, and digital artwork. Whether you are creating intricate decorative panels, jewelry, or industrial molds, ArtCAM provides intuitive tools to bring your creative vision to life.
Step 1: Preparing Your Vector Artwork
Before jumping into 3D modeling, clean vector preparation is essential. You must always start with a precise and well-structured vector outline. When importing or creating a 2D drawing inside ArtCAM 2018, ensure that all vectors are properly closed and free of overlapping nodes. Smooth, well-defined lines make it significantly easier for the software to calculate surface heights, angles, and bevels accurately.
Step 2: Generating 3D Reliefs in ArtCAM 2018
Once your vector geometry is ready, select your vectors and open the Shape Editor tool. This tool allows you to add height, roundness, or angled sweeps to selected shapes. By applying different relief parameters to individual sections of your 2D drawing, you can create complex depth layers, textured surfaces, and realistic contours that give your model a professional finish.
Unlock Monetization and Earning Potential
Mastering 3D relief design opens up immediate revenue opportunities. Skilled designers can offer custom modeling services on freelancing platforms or sell ready-to-use 3D files to CNC machine operators, engravers, and woodworkers worldwide.
By continually refining your vector-to-3D workflow in ArtCAM, you can build an impressive portfolio, attract clients, and convert your technical design skills into a lucrative income stream.


