
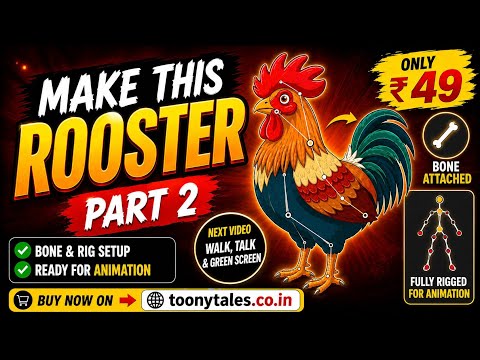
Creating dynamic digital animations begins with a solid foundation. If you have ever wondered how to transform a static 2D drawing into a fluid, expressive character, the secret lies in proper bone setup and rigging. Rigging acts as the digital skeleton that allows your artwork to bend, flex, and move naturally.
In this tutorial guide, we explore the essential steps to rig a rooster character for animation, taking your artwork from flat art to an interactive asset ready for production.
Step 1: Preparing Your Artwork Layers
Before adding any digital bones, your illustration must be correctly structured. When working with a 2D drawing, it is crucial to separate individual body parts onto different layers. For a rooster character, isolate components such as the beak, eyes, comb, wings, legs, and tail feathers. Clean layer separation prevents unwanted image distortion when the bones begin to rotate and stretch.
Step 2: Designing the Bone Structure
Once your layers are organized, you can begin constructing the bone hierarchy. Start with a main root bone—typically located at the character's hips or torso—and build outwards: * Legs and Feet: Connect thigh, shin, and foot bones to establish solid grounding and balance. * Spine and Head: Extend bones upward through the neck to control head tilts and beak movements. * Wings and Tail: Add chain bones to allow smooth flapping and tail wiggles.
Assigning proper weight painting ensures that each bone only influences its intended layer, keeping your character's movements crisp and realistic.
Step 3: Implementing Constraints and Controls
To make animating faster and more intuitive, set up inverse kinematics (IK) on the legs. IK constraints allow the feet to stay anchored to the ground while the body moves down, making actions like pecking or hopping far easier to keyframe. Adding custom control handles also saves time, letting you manipulate complex bone groups with simple sliders or target targets.
Ready to Animate!
Proper rigging bridges the gap between static art and full motion. With a well-structured bone setup, you can turn any basic 2D drawing into a fully animated masterpiece ready for green-screen clips, short films, or game development. Start building your rig today and bring your custom characters to life!


