
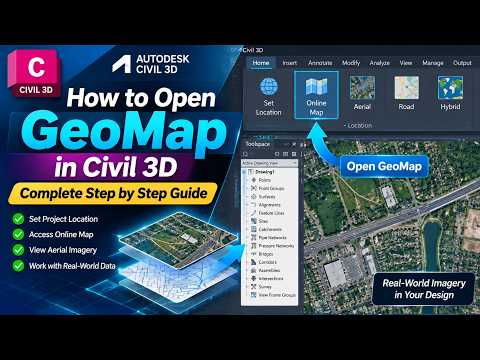
Adding spatial context to your engineering designs can drastically improve project planning, presentation, and overall design accuracy. When working in Civil 3D, accessing live satellite imagery directly inside your workspace is one of the most effective ways to visualize real-world site conditions without leaving your CAD environment.
In this quick, step-by-step guide, you will learn how to properly assign coordinates and activate the GeoMap feature seamlessly.
Step 1: Assign a Project Coordinate System
Before Civil 3D can pull background imagery from online map services, it needs to know where your drawing exists in the real world.
- Open your drawing and locate the Toolspace window.
- Switch to the Settings tab.
- Right-click on your drawing title at the top of the list and select Edit Drawing Settings.
- Under the Units and Zone tab, select your project's region under Categories (e.g., USA, Texas).
- Choose your specific Coordinate System (e.g., NAD83 Texas State Plane North Zone).
- Click Apply and then OK.
Step 2: Sign In to Your Autodesk Account
The GeoMap functionality relies on cloud-based mapping servers. * Look at the top-right corner of your screen. * Ensure you are signed in to your active Autodesk Account. If you are signed out or offline, the aerial map tiles will not display.
Step 3: Enable the GeoMap Background
Once your coordinate system is defined and you are logged in, activating the map takes just a few clicks:
- Navigate to the Geolocation ribbon tab (this tab automatically appears after a coordinate system is assigned).
- Locate the Online Map panel.
- Click the dropdown menu currently set to Map Off and choose your preferred view:
- Map Aerial: Displays high-resolution satellite imagery.
- Map Road: Displays a clean vector street map view.
- Map Hybrid: Combines aerial imagery with street names and landmarks.
Quick Troubleshooting Tips
If your background map fails to load or appears shifted:
* Verify Drawing Units: Ensure your drawing units (Imperial vs. Metric) match the assigned coordinate system specifications.
* Check Internet Access: A stable internet connection is required to stream real-time map tiles.
* Use Command Prompt: You can also type GEOMAP directly into the command line and select your desired display mode.
Conclusion
Utilizing the native GeoMap tool in Civil 3D streamlines preliminary site investigation and helps convey clear visual context to stakeholders. Follow these simple steps on your next infrastructure project to instantly overlay accurate geographic context onto your CAD data!


