
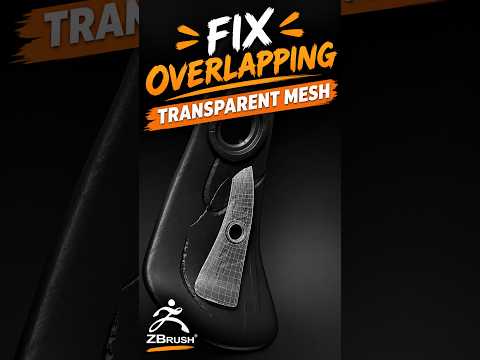
Overlapping geometry is one of the most common headaches for digital artists. Whether you are sculpting organic characters or creating complex hard-surface mechanical parts, intersecting surfaces can lead to rendering glitches, shading artifacts, and export errors. When working with 3D ZBrush, knowing how to fix overlapping meshes cleanly is an essential skill for producing professional, production-ready models.
Why Do Overlapping Meshes Occur?
Overlapping geometry usually happens when multiple SubTools intersect, when extruding geometry without clear boundaries, or during complex hard surface modeling procedures. If left unfixed, these overlapping areas can ruin displacement maps and create topological chaos during retopology.
Effective Ways to Fix Intersecting Geometry
Fixing overlapping meshes doesn't have to disrupt your creative momentum. Here are the most efficient techniques to clean up your model:
- Utilize Live Boolean Operations: If you have separate intersecting SubTools that need to become a single seamless mesh, enable Live Boolean. Once satisfied with the placement, click Make Boolean Mesh to generate a clean, unified mesh that automatically cuts away hidden internal geometry.
- DynaMesh Re-projection: For rapid concepting and sculpting, DynaMesh is your best friend. Combine the overlapping SubTools into one layer and re-DynaMesh the object. This recalculates the outer surface, fusing intersecting faces into a continuous mesh skin.
- PolyGrouping and Splitting: If the overlaps are accidental, isolate the intersecting geometry using PolyGroups (Ctrl + Shift click). Split the problem area into a separate SubTool and use the Gizmo 3D or Move brush to adjust positioning precisely.
- ZRemesher Cleanup: After fixing major intersections, run ZRemesher to rebuild clean quad topology over the repaired area, ensuring optimal surface flow for future detailing.
Streamline Your Modeling Pipeline
Mastering these quick fixes in 3D ZBrush will significantly speed up your hard surface workflow. Keeping your geometry clean early on prevents costly re-works during UV unwrapping, texturing, or importing your assets into software like Autodesk Maya or real-time engines like Unreal Engine.
Need a Customized Tutorial?
Every 3D model presents unique design challenges. If you are struggling with a specific overlapping part of your mesh or need a step-by-step video walkthrough on a complex part of your asset, leave a comment below or send a direct message. Continually learning new techniques in 3D ZBrush is the best way to elevate your digital sculpting skills!


