
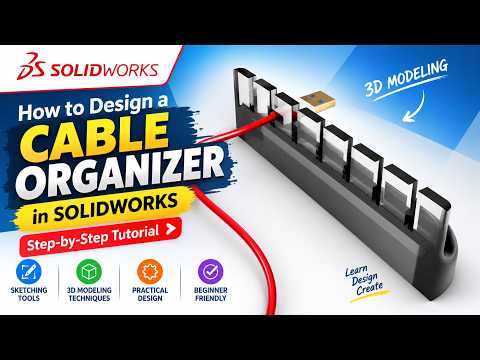
In today’s digital workspace, cable management is a necessity for maintaining a clean and productive environment. While there are many solutions available on the market, nothing beats the satisfaction of creating a custom solution tailored to your specific needs. In this guide, we will explore the power of 3D Mechanical CAD software by walking through the process of designing a sleek, functional cable organizer using SOLIDWORKS.
Starting with a Strong Foundation
Every great design begins with a clear vision and an accurate sketch. To start your cable organizer, you’ll first need to define the footprint of the base. In SOLIDWORKS, choose a plane (the Top Plane is usually best for this) and use the Rectangle tool to set your dimensions. Whether you are designing for a single USB cable or a thick power cord, precision is key. By using the "Smart Dimension" tool, you can ensure that your design fits perfectly within your workspace, showcasing why SOLIDWORKS is a leader in the 3D Mechanical CAD industry.
Adding Depth and Functionality
Once your 2D sketch is finalized, it’s time to move into the third dimension. Use the "Extruded Boss/Base" feature to give your organizer height. To create the slots where the cables will sit, you can use the "Extruded Cut" command. A tip for beginners: always consider the flexibility of the material you intend to use. If you plan on 3D printing this design, adding small "teeth" or narrow openings will help grip the cables securely.
To make the design more aesthetic and ergonomic, utilize the "Fillet" tool. Rounding off sharp edges not only makes the part look professional but also reduces stress concentrations in the material, a vital consideration in any 3D Mechanical CAD workflow.
Refining for Production
The final stage of the tutorial involves refining the geometry for real-world use. You might consider adding a hollowed-out section at the bottom for adhesive strips or mounting holes for screws. This level of detail ensures that your model isn't just a digital drawing, but a functional tool ready for manufacturing or 3D printing.
By following these steps, you’ve not only created a useful accessory for your desk but also sharpened your skills in parametric modeling. Mastering these techniques is the first step toward becoming a proficient designer in the world of mechanical engineering and product design. Grab your mouse, open SOLIDWORKS, and start organized today!


